
LINE TRACER ROBOT WITHOUT MICROCONTROLLER

Hi friends...!! Today i am going to show you how to make a simple line tracer robot without using any kind of microcontroller..

The line tracer robot is the autonomous robot which follows the the given black path on white surface.. this robot has ability to sense the given guideline and to drive the motors according to the track as shown in the image.

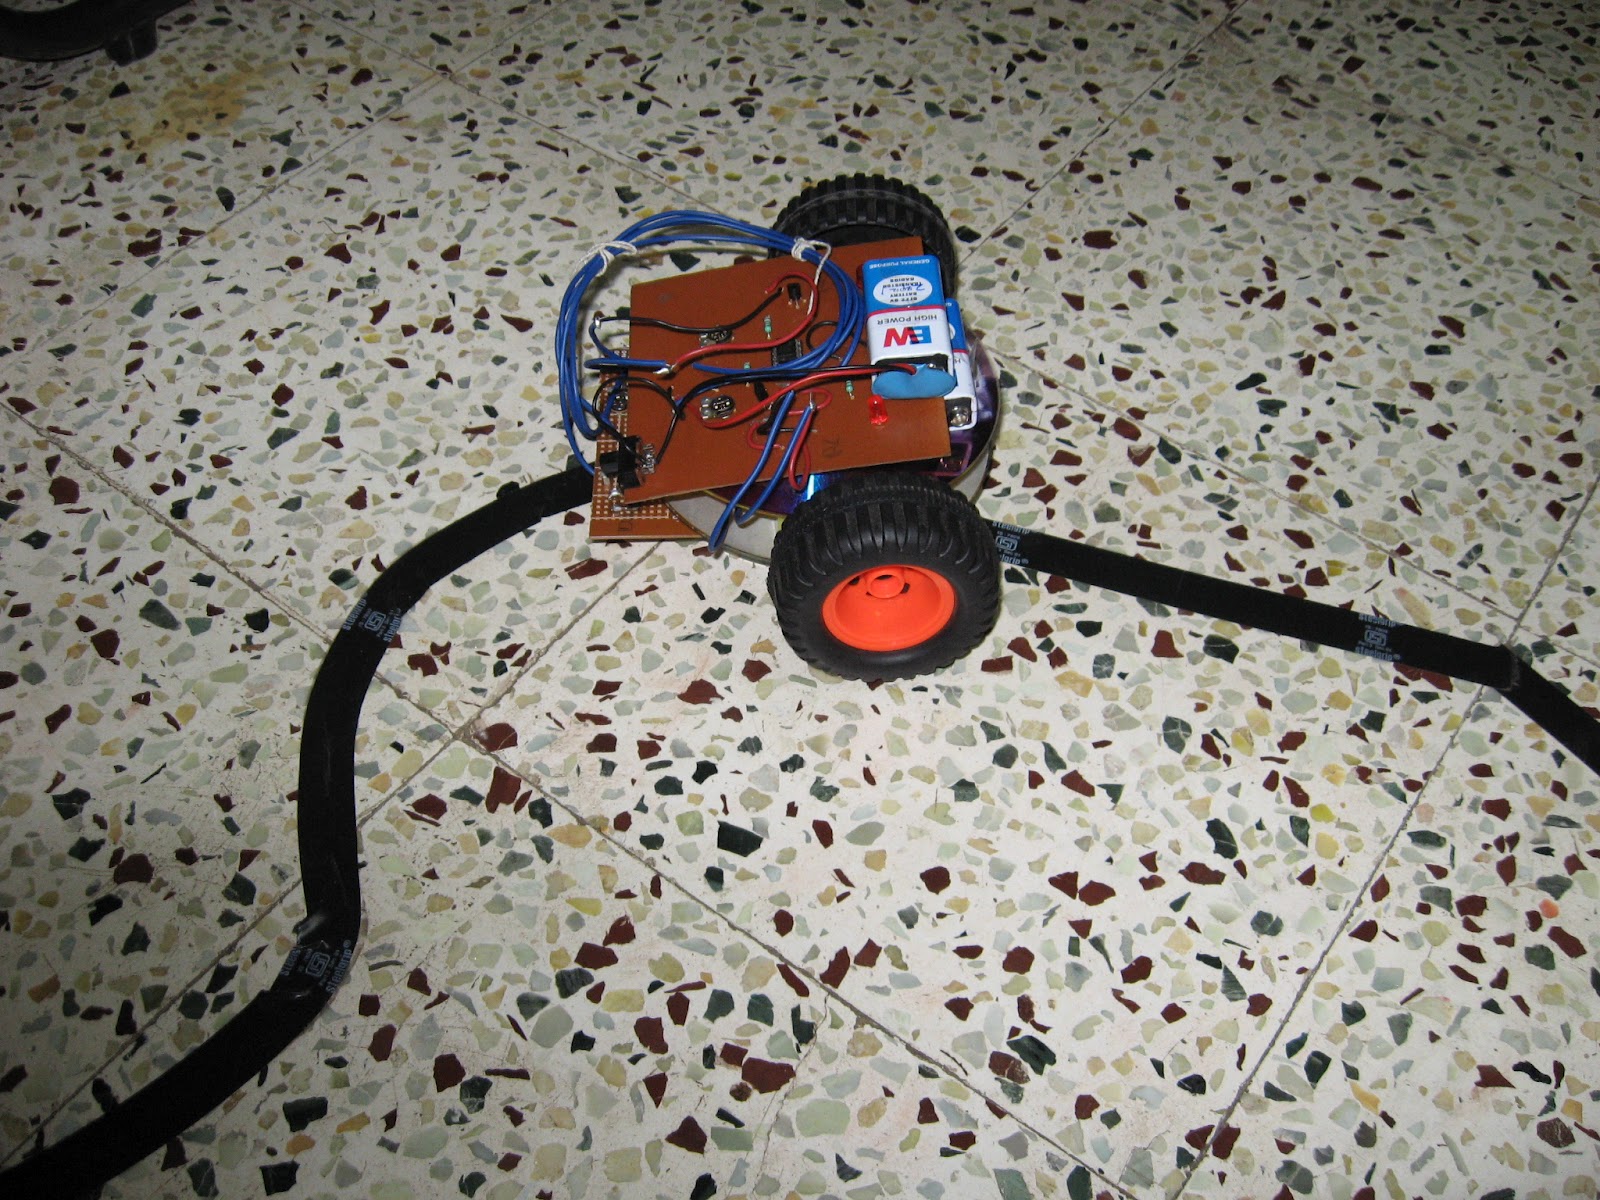
Line tracer following the the track
STEP 1:

You will need following components to make this robot.

  1. LM358 operational amplifier IC
  2. 220 ohm resistor
  3. 1K resistor
  4. infra-red LED
  5. photo-diode
  6. red LED
  7. Geared motors
  8. BC547 transistor  (2N3904 or 2N2222 works better.)
  9. 5K potentiometer
  10. 100 K potentiometer
  11. 9V battery and clip.

STEP 2:

Circuit Diagram:

Circuit diagram
i made the above circuit to make this simple line tracer..

STEP 3:

Please watch the video for more better understanding of functions and working of robot....


Comments

  1. New Zealand's first legal sports betting operator, JTG, to open
    New Zealand is the first legal sports betting operator to open an online sports betting 수원 출장마사지 platform in 화성 출장마사지 New 동해 출장안마 Zealand. The operator's 목포 출장안마 sports 부산광역 출장샵

    ReplyDelete

Post a Comment

Popular posts from this blog

ESP8266: Super compact WiFi Snipper for DeAuth attack

Introduction: Hello world! Few years ago, a new chip came to the market which started a new revolution! Yes, i am talking about the ESP8266. This chip is  way more powerful in terms of CPU architecture, clock frequency, flash size and power consumption if we compare it with existing arduino boards that usually contains Atmel's AVR controllers. ESP-01 Module Actually i bought this ESP-01 modules few years back which was originally flashed with good old serial AT command firmware. Over the time, I figured out that the same chip can be directly programmed through the Arduino IDE. This feature is so amazing that you can practically use all existing arduino libraries and the same IDE to program the ESP8266 according to your need by flashing your own arduino sketch. (Word of caution: It will remove your existing AT commands firmware from the chip) Okay, but why DeAuth? [ First of all you must read  this , if you don't know anything about deauthentication attack. ] A

Wireless gesture Controlled Robot Using AT89S52

ACCELEROMETER  BASED  WIRELESS  GESTURE CONTROLLED  ROBOT  USING 8051 (ATMEL’S  AT89S52)                        The gesture controlled robot is a special kind of robot which works with your hand gestures. It is possible to control the movement of robot in desired direction just with your hand gestures. You just need to wear a small transmitting device in your hand which included an acceleration meter. This will transmit an appropriate command to the robot so that it can do whatever we want. This robot is mainly divide into 2 parts: 1. Transmitter – The gesture device. 2. Receiver – The Robot. Now let’s discus about transmitter first. The transmitter consist of following analog and digital components: 1. Analog accelerometer ( motion sensor ) 2. Comparator (LM324 OP-AMP) 3. 4-bit Encoder (HT12E) 4. RF transmitter (remote control ) THE GESTURE (TRANSMITTER) DEVICE: Gesture Device THE TRANSMITTER SCHEMATIC: the transmitter schematic THE TRANSMITTER

Let's make an Arduino T-copter from scratch!

STEP-1 Starting up... Hi people, I am back after few months.. I decided to build something "productive" from ATmega chips laying around in my drawer, collecting dust. Still my final exam is not completed, i am busy in my studies.. but i am updating my idea as early as possible on this blog. From the first day, when i saw a multi-rotor UAV i was passionate to build my own multi copter.. And yes, build it from scratch rather than building it using ready made flight controllers like multiwii, kk multicopter etc... I am going make my own RF remote control rather than using a ready made multichannel  transmitters & receivers.. Hope my tricopter will fly as early as possible.. Basic Design (just created in paint): Selection of configuration I am going buy require components after my final exam... lot of work to do.. software, hardware & calculations...!! so stay tuned to build your very own tricopter with me...  (PS. I am trying to understand ma